It’s tough seeing your business slow down when you know there are people out there ready to buy, you just haven’t reached them yet.
You’ve probably had the thought: “Going online sounds great… but it’s a massive step, right?” Yep, it can feel that way at first. But here’s the thing, it doesn’t have to be all at once. One small move can change everything.
Look, the internet isn’t a passing craze; it’s the main street of modern commerce. If you’re offline in 2025, it’s like running a shop with the lights off and the doors locked, customers can’t buy what they can’t see.
E-commerce isn’t just growing—it’s exploding. By 2025, global online sales are set to reach a wild $7.5 trillion (yep, that’s trillion). And guess what? Over 4.4 million stores are already using Shopify to grab their share of the action. Not a bad place to start, right?
Let’s be real, how to start a Shopify store isn’t just click-click-done. There’s some real thought, setup, and a bit of hustle that goes into it.
The good news? You don’t need to be a tech whiz or marketing wizard to start a Shopify store. We’ve got your back with a step-by-step guide that skips the fluff and keeps it real. So, let’s get started!
How to Start Shopify Store? Smart Choice for Your Online Store
Before diving into the steps on how to start a Shopify store, it’s good to know why so many business owners, newbies, and pros alike love it. Let’s break down the key benefits of Shopify.”
1. It’s Built for Beginners (But Pros Love It Too)
It may seem daunting to open an online store, but Shopify takes the complications out. Its interface is simple, intuitive, and essentially guides you through every step of opening your store, no coding required.
You can have an idea one weekend and live in a store the next, even if you’re a complete newcomer to selling online. And this is the best part: over 50% of Shopify stores are first-time business owners.
2. Expands With You, Regardless of Your Stage
Whether you’re validating a product concept or growing a 6-figure business, Shopify’s pricing plans and tools are customized to each stage. Start simple, and once your business begins to gain momentum, you can upgrade with ease without having to begin from scratch.
From solo creators to enterprise brands, over 4.4 million businesses rely on Shopify’s powerful scalability to build and grow their online stores. This makes it more reliable to start Shopify store.
3. Packed With eCommerce Power Under the Hood
Despite its seeming simplicity, Shopify is far from lightweight. It has all the tools you require, including comprehensive analytics, discount codes, inventory management, and abandoned cart recovery.
You can also integrate it with hundreds of email marketing, shipping, and accounting tools. With more than 8,000+ integrations, Shopify allows you to create a genuine business engine, not a pretty storefront.
Pro tip: Want to run Facebook or Google ads? Shopify has built-in ad integrations that make launching campaigns super simple.
4. Support That Shows Up
Let’s be real: tech problems are a part of the process. But with Shopify, you’re never stuck Googling solutions at midnight. Their 24/7 customer support team is just a click or call away, offering help via live chat, email, and even phone.
Plus, their Help Center is stacked with tutorials, video walkthroughs, and community discussions. You’re never alone on the journey even if you want to know how to open Shopify store.
Fun fact: Shopify’s Help Center sees millions of visits every month, and most common issues are resolved within minutes.
5. Personalize Your Shopify Store with Feature-Rich Apps
Need better SEO tools? Want to automate shipping? Thinking of adding loyalty points or live chat? There’s literally an app for that. Actually, there are thousands—over 8,000 apps in the Shopify App Store, to be exact.
This means your store can grow, evolve, and be customized exactly to your needs, without needing to hire a developer every time.
Insider tip: A lot of the highest-ranked apps have free versions or trials, so you can see what fits first.
6. Your Shop is Always Open 24/7 without Skipping a Beat
Downtime Directly Impacts Your Sales. Good news, Shopify runs on high-powered cloud technology with a whopping 99.99% uptime. Which means your buyers can browse and buy any time of the day or night, without pesky crashes or drag-inducing lag times.
And, of course, Shopify handles hosting, security (yes, including SSL certificates), and software updates for you.
How to Start A Successful Shopify Store: Step-by-Step Guide
There’s plenty involved in crafting a ready-to-launch Shopify store, but our easy steps make the whole thing a breeze. So, have a look!
Step 1: Sign Up for Your Shopify Account
Your path to creating a profitable online shop begins with opening a Shopify account. It’s easy, fast, and costs nothing upfront.
Here’s how to begin:
- Go to Shopify’s website and press the “Start free trial” button.
- Type in your email address, password, and store name to start.
- Shopify will ask you to complete some setup questions, like: What are you selling?
- Are you already selling somewhere else (such as Amazon or Etsy)?
- Your business address and location (for shipping and tax configurations).
Tip: The store name you input is your default Shopify domain, such as yourstorename.myshopify.com. This link can’t be altered in the future, so it’s worth taking your time to select something brand-appropriate and easy to recall.
Of course, you can always buy a custom domain (such as www.yourbrand.com) from Shopify or add one you already have. We’ll cover that in a step further down.
Why it matters: Shopify sets up the platform according to your responses, saving time and effort down the line. It also applies this information to configure default currency, taxes, and shipping settings, important aspects of having a successful online store.
Step 2: Explore Shopify’s Free Trial
Shopify provides a 3-day free trial so that you can try its features and experiment with the platform without committing to anything. After your free trial, you can keep using Shopify for only $1/month for the initial month. That provides you with a low-risk avenue to experiment with your ideas and begin setting up your business.
What you can (and should) do on trial:
- Browse through available themes and experiment with various storefront appearances
- Check out the Shopify App Store to learn how you can add functionality to your store
- Add some sample products and create collections
- Experiment with basic features such as discount creation, customer profiles, and checkout processes
- Learn about Shopify’s dashboard and analytics page
- Experiment with the mobile app for store management on the go
Tip: While on the free trial, you can switch between plans (Basic, Shopify, Advanced) without incurring any charges. Shopify provides the freedom to experiment and determine what suits you best, depending on your store’s anticipated size and growth strategy.
Why it matters: The trial lets you get a hands-on sense of Shopify’s world, so you can try out features, play around with layouts, and map out your store plan, all without investing a single penny upfront.
Step 3: Choose the Right Shopify Plan for Your Business
Once you’re familiar with the platform, it’s time to choose a plan that aligns with your business model and future growth objectives. Shopify’s pricing is built to scale, whether you’re just getting into eCommerce or set to go global.
Main Shopify Plans:
| Plan | Ideal For | Key Features |
| Starter | Selling via links/social | Simple checkout for selling on social platforms like Instagram or WhatsApp |
| Basic Shopify | New online stores | Full online store, discount codes, manual order creation |
| Shopify | Growing businesses | Lower credit card rates, professional reports, and better shipping discounts |
| Advanced | Scaling Brands | Advanced reporting, custom pricing by market, third-party shipping rates |
| Shopify Plus | Enterprise-level stores | High-volume sales, a dedicated account manager, and advanced automation tools |
Note: Shopify also offers a Retail Plan if you have a physical store and want to use Shopify POS for in-person transactions.
Features in each paid plan:
- Full access to the Shopify App Store
- A mobile-friendly, responsive storefront
- Multi-channel selling (Facebook, TikTok, Instagram, Amazon, etc.)
- Secure payment and checkout (Shopify Payments or third-party gateways)
- Inventory management tools
- 24/7 customer support
- Built-in analytics and sales reports
Why it matters: By selecting the right plan, you can avoid spending too much for features you aren’t ready to utilize yet or slowing your progress by holding to a basic choice for too long. Because Shopify allows you to scale up your plan as your business expands, its pricing is flexible.
Step 4: Fine-Tune Your Store Settings
Shopify gives you in-depth backend control via its user-friendly dashboard. Taking ten extra minutes here prevents headaches later.
| What to Adjust | Why It Matters | Where to Find It |
| Store Name | Shows on invoices and email notifications. (Changing it doesn’t alter yourstorename.myshopify.com.) | Settings › Store details |
| Legal Business Name & Address | Powers the automatic tax rates and appears on receipts. Use your registered company info—or your home address if you’re a sole proprietor. | Settings › Store details |
| Standards & Formats | Customize your store’s time zone, unit system, and default currency for a seamless and consistent experience across all operations. | Settings › Store details |
| International Currencies | Selling worldwide? Enable multi-currency in Shopify Payments so buyers see prices in their local currency. | Settings › Payments → Manage |
| Staff Accounts & Permissions | Add teammates or VAs with the exact access they need—nothing more. | Settings › Users and permissions |
Pro Tip: Every time you change a key setting, place a quick test order (use Shopify’s Bogus Gateway) to make sure taxes, shipping, and email notifications still look correct.
5. Choose and Set Up Your Custom Domain Name
Once your Shopify store is set up, change the myshopify.com link to a custom domain that represents your brand. This process helps your store look more professional and also helps customers easily remember and locate your website.
There are two primary ways you can get a domain for your website:
- Buy your domain directly from Shopify to make setting up easy.
- Get a domain from companies like GoDaddy or Namecheap and attach it to your Shopify store.
Already have a domain? You can easily move it to Shopify or direct it to your new store. Keep this in mind: it could take as long as 48 hours for your domain to be fully set up or transferred, and you might have to verify your email address during this time.
Step 6: Choose (and Customize) Your Theme
The theme dictates the entire visual experience for your customers. Shopify kicks things off with Dawn, a modern, mobile-optimized theme, yet you have access to many other free and paid themes to customize your store.
Finding the perfect fit:
| Source | Cost | Good For |
| Free themes (within Admin-› Themes) | $0 | Lean budgets, fast launches, niche-specific layouts like food or fashion |
| Shopify Theme Store | $0- $400 (One time) | Robust features, polished UX, reliable support, automatic updates |
| Third-party markets (e.g., ThemeForest) | Varies | Unique designs are great, but always check the seller’s update history and reviews carefully. |
How to review a theme in a flash
- Preview demo stores → Test product page speed, navigation, and cart behavior.
- Read reviews → Search for mentions of mobile responsiveness and support quality.
- Scan the feature list → Integrated mega-menu, product videos, age gate, quick-add, etc.
- Test drive → Install the theme on your store (you won’t be charged until you publish). Adjust colors, fonts, and sections to see how easy it is to work with.
Customization tips
Sections Everywhere: The majority of current themes allow you to drag-and-drop sections on any page, no coding required.
Brand palette: Unify your store’s appearance by customizing HEX colors and fonts directly in Theme Settings › Colors/Fonts.
Apps vs. theme features: Too many apps can slow your store. First, see if your theme has what you need, like product tabs or countdown timers, already built in.
Verify on the phone: More than 70 % of traffic on Shopify is mobile in 2025; be sure to preview everything on your phone.
7. Personalize the Look and Feel of Your Store
You don’t need to be perfect on day one of launching your Shopify store. Concentrate on critical design aspects to get your store welcoming and professional, and improve it over time.
How to Customize:
- Access: Navigate to Online Store > Themes > Customize in your Shopify admin.
- Preview: The correct panel displays a live preview; the left panel allows you to edit sections
Key Customizable Elements:
| Element | What You Can Do | Why It Matters |
| Logo | Upload your brand logo | Builds brand recognition |
| Page Sections | Add or rearrange banners, featured products, etc. | Highlight important info |
| Buttons & Links | Customize colors, shapes, and text | Guide customers intuitively |
| Layouts | Adjust product grids, spacing, and page structure | Enhance user navigation |
| Brand Colors & Typography | Set brand colors and fonts | Maintain a consistent visual identity |
Tips to Remember
- Save often to prevent losing edits.
- Prioritize first a simple, intuitive look; don’t overwhelm customers with too many bells and whistles.
- Test your store on mobiles to ensure an effortless shop on any screen.
8. Add Products to Your Store
Adding products isn’t about simply posting up pictures and prices, it’s your opportunity to tell your product’s story and get people to buy.
How to Add Products
- Go to Products > All products > Add product in your Shopify admin.
- Complete product details carefully.
Important Product Listing Details
- Product Names: Use descriptive, keyword-based names that searchers may enter into search engines.
- Descriptions: Create inviting, informative descriptions of features, benefits, materials, usage instructions, and care guidelines. Use bullet points to break up text for ease of reading. Do not duplicate supplier descriptions; rather, translate them in your own brand voice.
- Images & Videos: Post high-quality photos displaying multiple views, product-in-use images, and videos where applicable. Include alt text for accessibility and search engine optimization.
- Pricing: Set competitive prices and use introductory discounts or bundles to entice early customers.
- Inventory: Enter realistic stock levels to avoid overselling. Shopify will auto-cancel sales when stock reaches zero if inventory tracking is turned on.
- Variants: If your product has varying sizes, colors, or styles, create variants with descriptive option names. This makes it easy for customers to choose their options.
- Shipping: For physical products, verify the shipping box and provide dimensions and weight for proper shipping rate calculation. For a digital product or service, leave shipping off.
- Customs Information: Enter the country of origin and the harmonized system (HS) tariff code for export orders to enhance customs clearance and prevent delays.
Pro Tip: High-quality product listings create confidence and reduce purchase hesitation. Take time crafting each listing, it pays off in higher conversions.
9. Organize Your Product Collections
Grouping items into collections allows shoppers to find what they want with ease and smooths out their online experience. First, log in to your Shopify admin and click on Products, after which you’ll see the option for Collections. Once there, click Create Collection to make a new collection.
Naming and describing your collection will improve your store’s search engine ranking, even if the description isn’t visible on your site. A great way to improve this feature is to add an image to the collection and make it more appealing to users.
Types of Collections:
| Collection Type | Example Categories | Best For |
| By Category | Men’s Apparel, Women’s Accessories | Broad organization |
| By Product Type | Running Shoes, Casual Shoes | Specific product grouping |
| By Theme/Occasion | New Arrivals, Sale Items, Holiday Gifts | Promotions or seasonal sales |
| Sub-Collections | Under broader categories for hierarchy | Complex inventories |
As soon as your collections are made, add them to your homepage or the store’s navigation list so your customers will find them easily. You can link your collections across various sales channels using Shopify and guarantee that the arrangement is similar everywhere your customers buy.
- Not sure what to sell or how to choose a niche?
- We help you identify profitable niches and winning products for your store.
You have two methods to use when adding products to collections:
- Manual Collections: You pick out each product individually. It’s best when you’re working with a small store or when you need total control over what appears in every collection.
- Automated Collections: Filter products using tags, price points, or if the items are still available. Adding any item that matches these points takes just a click, avoiding the burden of manual entry for shops with a wide selection.
10. Add Essential Pages to Your Shopify Store
Your shop requires more than products alone, it requires supporting pages to give customers vital information.
How to Add a Page:
- Go to Shopify Admin
- Click Online Store > Pages
- Choose “Add Page”
- Insert a title and text, then save
Pages You Should Have:
- About Us: Share your brand history and establish trust
- Contact Us: Make it easy for customers to contact you (Shopify automatically includes a form)
- Size Guide: Particularly helpful for clothing stores; add US, UK, and EU sizes
- FAQ: Answer frequently asked questions to minimize support requests
Each page can be customized with images, text styles, or even embedded video. Also, pay attention to the page title, as it impacts SEO and appears in browser tabs and search results.
You can decide to post the page straight away, hide it, or schedule it for a particular date, handy if the material isn’t yet ready.
11. Set Up and Organize Your Store’s Navigation Menu
An easy-to-read, neatly organized menu allows customers to navigate and shop more effortlessly. To modify both the Main Menu and Footer Menu, navigate to Online Store > Navigation within your Shopify admin.
- Main Menu: Insert links to your home page, collections, featured products, blog, or contact page. For a more streamlined structure, consider nesting items to build dropdowns.
- Footer Menu: Use this for essential links like shipping info, terms and conditions, and privacy policies.
When adding a menu item, give it a clear name and choose where it should link, whether it’s a collection, product, page, or even an external URL.
Organizing your menus properly enhances user experience, keeps your store tidy, and helps visitors find what they need faster.
12. Set Up Your Store’s Legal and Policy Pages
It is crucial to set up the necessary legal pages before you open your Shopify store. They strengthen the relationship between your firm and your clients as well as avoid possible disputes.
All your legal pages can be managed and created by visiting Settings > Policies. The platform also comes with useful templates you can use to start building your store.
You should make sure to have the following pages on your website:
- Refund Policy: Outline the products that can be returned, the conditions they must meet, the time they can be returned, and how the process begins for customers. Make sure you mention the non-refundable things.
- Privacy Policy: Detail how you collect, use, and keep safe any information you have about customers. You need this feature in place if you are collecting email addresses, contact information, or payment details.
- Terms of Service: Describe what people need to do when using your website and checking out from your store. It helps ensure the security of your business and reduces your chances of facing liability.
- Shipping Policy: This part is not necessary, but it is highly recommended. Outline how you deliver, the time it takes for your customers to get their items, if you offer shipping to other countries, and the costs attached to customs or duties.
Tip: You can add links to your privacy policies, shipping terms, and other policies in the footer, checkout page, and on product pages to make them readily accessible.
13. Improve and Monitor Your Store Speed
A quick-loading store is key to keeping visitors engaged and minimizing bounce rates. In your Shopify admin, navigate to Online Store > Themes > Online Store Speed and click View Report to review performance.
Important tips:
- Restrict the number of third-party apps and large media files.
- Position large items (such as video or review widgets) towards the bottom of the page.
- Think about hiring a Shopify developer to clean out unused code or optimize theme assets.
14. Create a Blog for Improved Engagement and SEO
Content marketing is a powerful tool, and the best part? Shopify’s built-in blogging feature makes it a breeze to create content that educates and converts. Head to Online Store > Blog Posts to begin.
Top blog post ideas:
- Product announcements or step-by-step guides
- Behind-the-scenes pieces
- Seasonal promotions or gift guides
Customer testimonials and stories
Use quotes to invite clicks, attribute to an author, and allow commenting to create a community around your brand.
- Want your store to show up on Google and get traffic?
- We help you with SEO basics like meta titles, keywords, and sitemaps to boost visibility.
15. Configure Metadata for Improved Clickthroughs
Before anyone visits your site, they see your metadata in search results. A well-crafted title and description can drive more clicks. Your home page title and meta description show up in search engines and can influence the number of people who click your link. Here’s how to Edit Metadata in Shopify:
- Go to Online Store > Preferences
- Find the Title and Meta Description section
- Add a catchy and clear homepage title + description
Ensure:
- The title contains your store name and main keyword.
- The meta description is interesting, less than 160 characters long, and describes what your store sells.
- While Shopify metadata does not have a direct ranking effect, good metadata enhances visibility and encourages clicks.
16. Set Your Store’s Email Address
Email is one of the most important tools in your Shopify toolkit. From order confirmations to shipping updates, automated emails keep customers informed and your team organized. Here’s how to update your email address:
- Head to Settings > General
- Under Store Details, update your sender email address
This is the email your customers will see when receiving notifications from your store.
17. Set Up Your Payment Options and Taxes
Handling payments and taxes the right way ensures smooth transactions and builds customer trust. Here’s how to do it on Shopify.
- Select your payment providers: Shopify Payments is most convenient, but you can include PayPal or others through Settings > Payments.
- Select payment types: Credit cards, wallets (Apple Pay, Google Pay), or cash. Be aware of their fees before you turn it on.
- Accept multiple currencies? Turn this on if you sell worldwide. Apply price rounding to make it clean.
- Combat fraud: Utilize Shopify’s fraud protection features and ensure billing information contains your store name.
- Speed up checkout: Provide expedited checkout methods such as Shop Pay or Amazon Pay to drive repeat sales.
- Process chargebacks: Have clear return/refund terms, keep product information truthful, and answer quickly to customers.
- Test your configuration: Test transactions in test mode before going live.
- Taxes: Shopify can automatically compute most sales taxes. Configure in Settings > Taxes and check local rules.
- Ready to simplify payments and taxes for your store?
- We help you set up secure payment gateways, multi-currency support, and tax automation effortlessly.
18. Configure Shipping for Your Store
Shipping plays a major role in customer satisfaction and business costs. Here’s how to manage it properly on Shopify.
- Determine who ships: You, your buyer, or a combination?
- Utilize Shopify’s carrier partners: USPS, UPS, DHL, and more provide discounted shipping for Shopify vendors.
- Design shipping profiles: A single default profile for all merchandise, or set up custom ones for delicate or specialized items
- Establish shipping zones: Cluster countries/regions to establish varying rates and provide correct costs at checkout.
- Shopify Shipping app: Print labels, track shipments, and determine rates all within your admin panel
- Tailor labels: Add order numbers, tracking information, ship date, and carrier information
- Not using Shopify Shipping? Utilize local carriers or fulfillment services and connect accounts by hand.
Shopify Marketing Guide: Proven Tips and Tactics
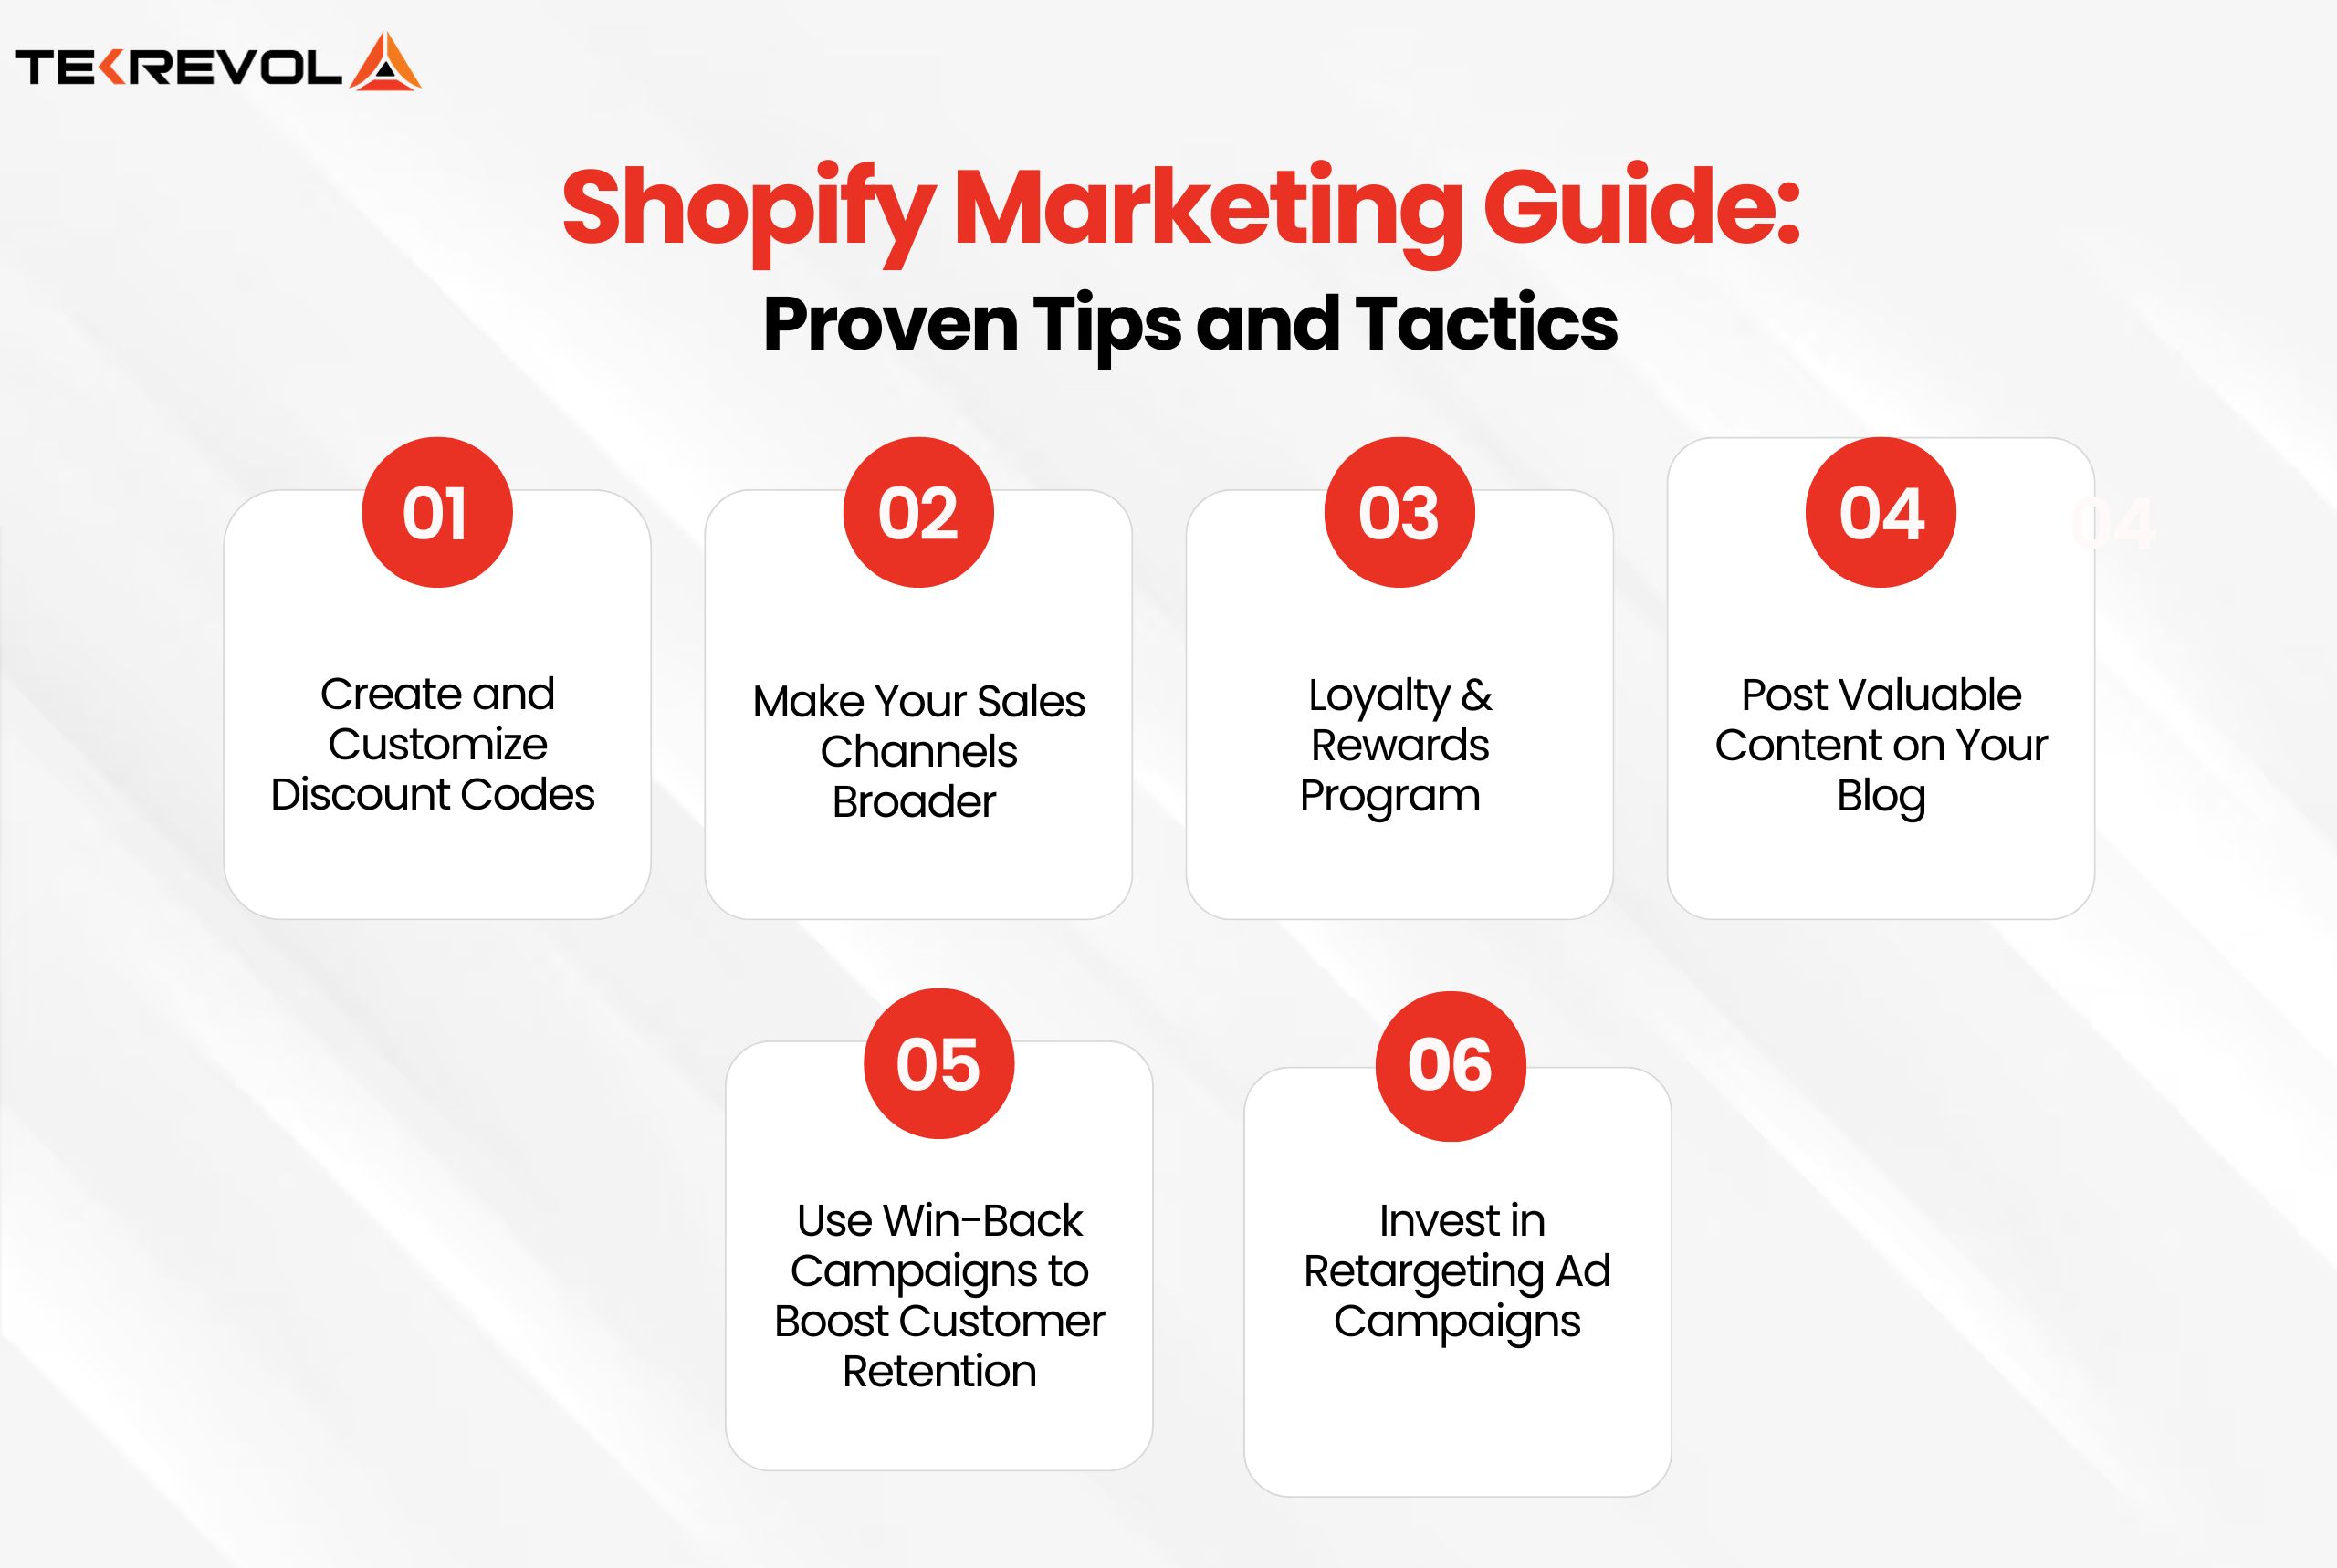
A Shopify store is more than just products: it’s a brand engagement with its customers, and consistently growing sales. Then, it is just about effective marketing after putting up the store. Here’s a little advanced thing that can take your Shopify marketing strategy to the next level and convert visitors into devoted customers.
1. Create and Customize Discount Codes
Discounts are a well-known way to attract prospective customers, inviting them to convert, and then rewarding them after their conversion. Shopify can create 20 million unique discount codes, giving you control over all your promotions.
That means there are fixed values, percentages, free shipping, or “buy X, get Y” offers customizable to precisely what you want. You can also make discounts apply automatically at checkout.
Just remember to use limits on the number of times they can be used and how long offers stay valid for that last-minute hurry up effect to increase efficacy.
2. Make Your Sales Channels Broader
No more restrictions on one channel of revenue generation for your online store. Shopify helps you go even further by getting connected with all the other platforms selling in the marketplace.
You can:
- Use Shopify POS for in-person sales.
- List products on Amazon, eBay, Etsy, and Walmart
- Use Facebook, Instagram, and TikTok to promote your sale.s
- Market products via Google Shopping campaigns
Expanding your sales channels also brings potential new audiences into your fold and increasing the chances of converting casual browsers into buyers.
3. Loyalty & Rewards Program
A loyalty and rewards program is a simple yet effective way to encourage repeat purchases. These programs help increase customer retention and lifetime value by offering incentives like points, discounts, or exclusive offers.
With the Shopify ecosystem app, you can easily develop:
- Points-based rewards for every purchase or action.
- Tiered loyalty programs unlock new perks as a customer spends more.
- Paid memberships with exclusive discounts or VIP benefits.
All these are turning one-time buyers into repeat-buying customers and eventually, brand advocates.
4. Post Valuable Content on Your Blog
Content marketing is the most powerful weapon you have in your digital arsenal. Shopify’s integrated blog feature helps you write SEO-friendly content that educates, enlightens, and convinces.
Talk about all the topics of great customer interest: how-to guides, helpful product usage tips, industry insights, or buying guides. Establishing a consistent blog will further improve your search rankings, build an authority in your niche, and drive organic traffic to your store.
Best of all, content marketing has long-term benefits. Unlike paid ads, a great blog post can keep attracting customers for months or even years.
5. Use Win-Back Campaigns to Boost Customer Retention
Perhaps a customer hasn’t purchased from you in a while, or they just left your site without buying, so you assume he is gone for good. Win-back emails are, however, intended to bring these customers back into the fold.
Sample win-back sequence:
- 30 days post-purchase: Recommend a product they can find helpful about their last order.
- 60 days later: Make the offer more appealing with extras like complimentary shipping or a limited-time discount.
- 90 days later: A Larger offering increases the chances for conversion.
These emails might also contain surveys that ask them whether they had a negative experience or why they stopped interacting, providing you with information, and showing concern.
Pro Tip: Automate your campaign to remove customers once they repurchase, avoiding redundant discounts or offers.
Follow-Up Emails (Exceeding Win-Backs)
Not every follow-up email is sent to previous customers. Some are for:
- Cart abandoners: Let them remember the products they abandoned.
- Newsletter sign-ups: Encourage subscribers who have not purchased yet by highlighting your bestsellers or social proof.
- Browse abandoners: Send targeted product recommendations based on what they browsed.
Consistency in follow-up creates familiarity and keeps your brand at the forefront of a prospect’s mind.
6. Invest in Retargeting Ad Campaigns
There are times when customers need a small reminder. Retargeting ads offer a solution for that. These ads are placed on platforms including Google, Facebook, and Instagram to remind people who stopped midway through buying.
Here are some tips to make retargeting work best for you:
Segment your audience: Separate the audience into groups of people who left items in a cart, those who looked at your products, and previous customers. Make sure the message aligns with the group so it’s meaningful and relevant to them.
Use dynamic visuals: Offer them the products they were browsing online to remind them why they showed interest. Include information on how much time is left for the sale or mention that shipping is free.
Set frequency limits: Be there often enough so your company stays on people’s minds, but not too often that your ads annoy them. Balance is key.
Track and optimize performance: Use the connection between Shopify and ad platforms such as Facebook Pixel and Google Ads to keep track of conversions and update your strategy accordingly.
Bonus Tip: Work with influencers using Shopify Collabs to introduce your brand to new groups of customers and gain credibility among them.
TekRevol: Your Full-Service Shopify Development Partner

Shopify makes launching a store simple. But building a branded, conversion-focused storefront? That’s where we come in. From advanced features to seamless design, we turn basic stores into powerful eCommerce engines.
As a top Shopify development agency, we at TekRevol specialize in creating bespoke eCommerce solutions that increase sales, enhance user experience, and grow with your business.
From storefront layout and app integration to performance optimization and conversion-oriented features, our skilled Shopify developers bring your vision to life as strong, highly-capable web stores.
We offer a tried-and-true track record of implementing successful Shopify stores in many different industries. Our team of Shopify pros is standing by to review your project specifications and assist with figuring out precisely what you should have to develop a high-performing, launch-ready store.
Send us your project requirements, and we’ll give you customized recommendations and solutions that perfectly suit your business objectives.
- Looking for a reliable Shopify partner?
- Connect with TekRevol and take the first step toward your successful store.